Ergonomic Workstation Setup Guide 2026: Desk, Chair, Monitor

How we researched
We compare current specs, warranty terms, buyer complaints, and long-term owner patterns. Read methodology →
Last price/spec check
2026-07-31. Prices move, so use the retailer page as the final source.
Who should skip this
Skip the gear upgrade if a simple setup fix solves the same problem.
Most people set up their home office based on how it looks, not how it works. The monitor goes where there's space. The chair gets adjusted once and never touched again. The keyboard lands wherever the desk allows.
Six months later, the neck hurts. The shoulders feel tight by 3 PM. The lower back is a slow, consistent problem that doesn't seem bad enough to do anything about but never quite goes away.
The fixes are usually simple. They just require knowing the actual rules, not guesswork. This guide covers the complete ergonomic workstation setup, step by step, for both sitting and standing configurations.
Start with your chair
The chair is the foundation. According to the OSHA Computer Workstations eTool and BIFMA ergonomic standards, everything else in your workstation should be calibrated around your neutral seated baseline.
Seat height. Adjust the chair until your feet rest flat on the floor and your knees are at or just below hip height. Your thighs should be roughly parallel to the floor.
If the chair is too high and your feet dangle, you're putting pressure on the backs of your thighs that cuts off circulation over time. If it's too low, you're pushing your hips above your knees and loading the lower spine.
If your chair is at the right height and your feet don't reach the floor, get a footrest. Don't lower the chair to reach the floor and lose the hip angle.
Lumbar support. The lumbar support on your chair should sit at the small of your back, not the middle of your back. Most adjustable lumbar supports need to go lower than people intuitively set them. When positioned correctly, you should feel it at the belt line, gently filling the inward curve of your lower spine.
Seat depth. You should be able to sit all the way back in the chair with 2-3 finger widths between the front edge of the seat and the back of your knees. If the seat is too deep and you can't sit back without the edge cutting into your thighs, you either need a different chair or a lumbar cushion to push yourself forward.
Armrests. Set them so your shoulders are relaxed (not shrugged) and your elbows are at roughly 90 degrees when your arms rest naturally. If the armrests force your shoulders up, lower them.
If you can't lower them enough, remove them. Armrests are only useful when they're at the right height.
If you're still trying to find a chair that gives you these adjustments, our guide to the best ergonomic office chairs covers options from $299 to $1,445.
Set your desk height
Once your chair is right, set the desk height to match. Your elbows should be at roughly a 90-degree angle when your hands rest on the keyboard, with your forearms parallel to the floor.
For most seated adults, that puts the desk surface between 28" and 30" from the floor. If your desk doesn't adjust and it's set higher than that, you'll raise your chair to compensate and end up with your feet off the floor. Don't do this.
A height-adjustable standing desk eliminates this problem entirely. You set it once for sitting height, then raise it when you stand.
For standing position: your elbow angle stays the same (roughly 90 degrees). For most adults, standing desk height lands between 40" and 44" from the floor. The typical calculation is: your standing height minus about 15 inches.
Position your monitor
Monitor placement is where most setups go wrong most consistently.
Height. The top of the monitor screen should be at or just below eye level. If you're looking up at the screen, your neck is extended all day.
If you're looking significantly down, it's slightly better for the neck but creates shoulder tension. Aim for top of screen at eye level, with the screen tilted back 10-20 degrees from vertical.
Distance. Your monitor should be roughly arm's length from your face. Extend your arm toward the screen: your fingertips should just reach it.
Closer than this creates eye strain. Further is fine as long as you can read comfortably; if you're leaning toward the screen, increase font size before moving the monitor closer.
Angle. Centered directly in front of you, not offset to one side. If you use two monitors, put the primary one centered and the secondary one at an angle. Looking to the right or left of center for 8 hours creates neck strain on that side specifically.
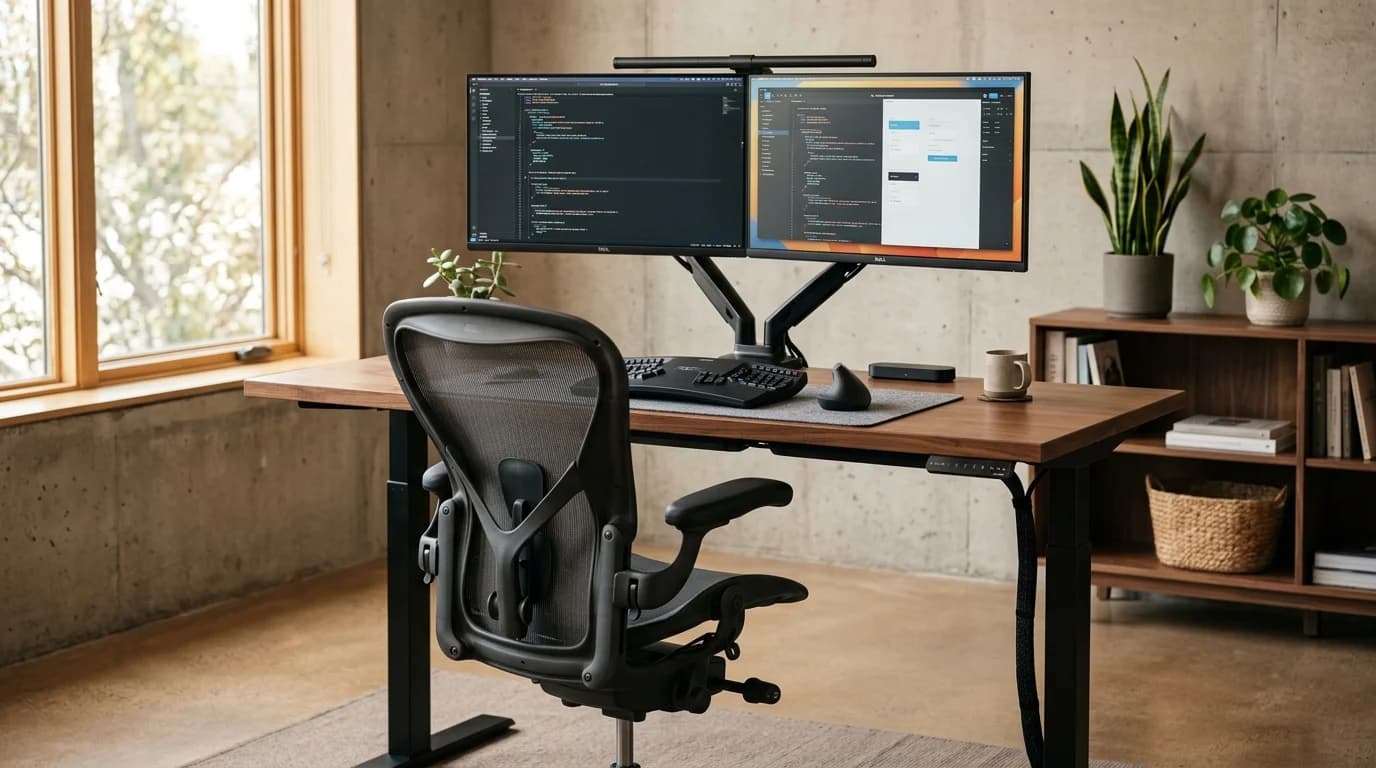
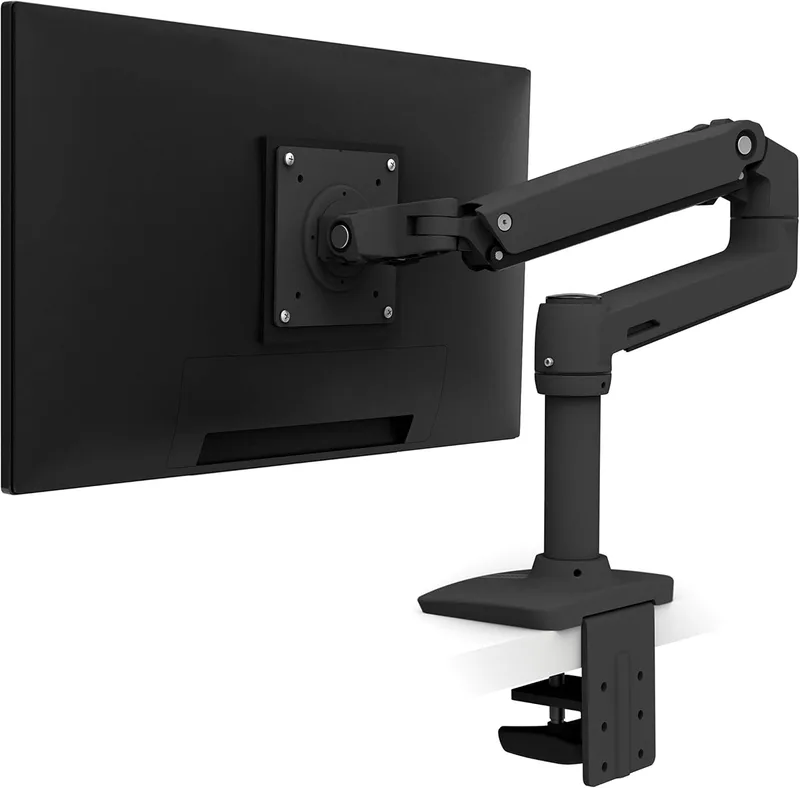
A monitor arm is the easiest way to get this right. It lets you adjust height, depth, and angle independently and frees up desk surface underneath.
If you're choosing a monitor, size and resolution matter more than most people think. The home office monitor guide covers what to actually look for, and what gaming specs you can safely ignore.
If you're using a laptop as your primary display, you need a separate keyboard and mouse if you're lifting the screen to eye level. A laptop stand plus external keyboard and mouse is the standard solution for laptop users working from home.
Keyboard and mouse position
Your keyboard should be positioned so your elbows stay near your sides (not extended in front of you) and your wrists stay neutral (not bent up or down). Most people type with their wrists too high because the keyboard is too far back on the desk.
Pull the keyboard closer than feels natural. Your forearms should form a 90-degree angle or slightly more open (90-110 degrees). The keyboard should be flat or angled slightly toward you (positive tilt), not tilted away from you (negative tilt). Most keyboards default to positive tilt; if you have wrist pain, experiment with flat or negative tilt.
The mouse should be at the same height as the keyboard, directly beside it. If you're reaching out to the side to use the mouse, that's shoulder tension building over an 8-hour day. For wrist strain or tingling fingers, choosing a pointer from our best ergonomic mouse for carpal tunnel guide eliminates forearm pronation.
Lighting
Two problems to solve: ambient light and screen glare.
Your screen brightness should roughly match the ambient brightness in the room. Working in a dark room with a bright screen (the Netflix setup) is fine for short periods, bad for 8-hour workdays. Your eyes are constantly adjusting to the contrast and that's what creates the fatigue.
Position your monitor perpendicular to windows, not facing them (direct glare on the screen) and not with a window directly behind you (backlight washing out the display). Side-lit is the right orientation.
For task lighting, a desk lamp positioned to the left of your monitor (if you're right-handed) illuminates documents without creating a reflection on screen. Overhead fluorescent lighting is fine as a base layer but not enough on its own for detailed work.
If you want specific product picks, the home office lighting guide covers desk lamps, bias lighting, and the difference between options worth the money and ones that are mostly marketing.
Standing desk ergonomics

The rules above apply when you're sitting. Standing is different.
How long to stand. Alternating between sitting and standing beats either extreme. The recommended pattern: 30-60 minutes sitting, then 15-30 minutes standing, repeated through the workday. Most people target 2 hours of standing spread across an 8-hour day.
Foot support. Standing on a hard floor causes fatigue starting at the feet and moving up through the lower back. An anti-fatigue mat significantly reduces this. Rocker boards and balance boards are another option for more active standing, but the mat is the simpler entry point.
Footwear. Don't stand at your desk barefoot on a hard floor. It sounds fine in theory.
After 30 minutes on hardwood or concrete, most people feel it in the arch and calf. Even socks or comfortable shoes change this significantly.
Posture while standing. The same rules apply: monitor at eye level, keyboard at elbow height, weight balanced evenly between both feet. People who stand at desks often shift all their weight to one leg.
Do this long enough and you'll have hip pain on that side. Distribute weight evenly, shift positions regularly.
Quick ergonomic checklist
Run through these before your next workday:
- Feet flat on floor (or on a footrest)
- Knees at or just below hip height
- Lumbar support at the small of your back
- Desk height: elbows at 90 degrees, forearms parallel to floor
- Monitor: top of screen at eye level, arm's length away
- Keyboard: close enough that elbows stay near your sides
- Wrists: neutral (not bent up or down)
- Mouse: same height as keyboard, directly beside it
- No direct light source behind or in front of the monitor
- Standing: 30-60 minutes sitting, 15-30 minutes standing, alternating
If you fix all of these and still have pain after 2-3 weeks, the issue is likely something specific to your body mechanics that a physiotherapist can assess. Ergonomic setup reduces pain caused by position. It doesn't fix underlying structural issues.
The most common ergonomic mistakes
Monitor too low. This is the single most common error. People leave the monitor on the desk without a stand or arm, which puts the screen center at about mid-chest height. You look down all day and wonder why your neck hurts.
Chair too high. People see the "arms at 90 degrees" rule and raise the chair to reach the keyboard height. If that puts your feet off the floor, the chair is too high and the desk is too tall. Fix the desk, not the chair.
Keyboard too far away. Workstations with the keyboard at the back of a deep desk surface put you reaching forward all day. Move the keyboard to the edge of the desk closest to you.
Ignoring the standing posture. Getting a standing desk and then standing with the monitor too low, hunched over the keyboard, effectively trading one set of problems for another. The ergonomic rules apply standing up just as much as sitting down.
Setting everything up once and never adjusting. You change. Your work changes.
Check your setup when you notice new discomfort. It's usually one thing that's drifted out of position.
If repetitive typing causes numbness or forearm tightness, upgrade to our recommended best ergonomic keyboard for carpal tunnel.
FAQ
What's the ideal desk height for ergonomic work? Your desk height should allow your elbows to be at approximately 90 degrees when your hands rest on the keyboard, with your forearms roughly parallel to the floor. For most seated adults, this is 28-30 inches.
For standing work, most adults need 40-44 inches. A height-adjustable desk handles both without compromise.
How far should a monitor be from your face? About arm's length away, or roughly 20-30 inches for most people. The test is simple: extend your arm toward the screen, and your fingertips should just reach it. If you're leaning forward to read, either move the monitor closer or increase font size.
Is it better to sit or stand at a desk? Neither extended sitting nor extended standing is ideal. The research consensus is that alternating every 30-60 minutes is better than either for long periods. Sustained standing is better than sustained sitting for cardiovascular health, but sustained standing all day creates its own set of problems in the feet, knees, and lower back.
Do I need an ergonomic chair, or will any chair work? Most office chairs aren't designed to support 6-8 hours of seated use. You can make an inexpensive chair more ergonomic with proper adjustments and add-ons (lumbar pillows, seat cushions), but a chair with adjustable lumbar support, seat height, and armrests does this better out of the box. The biggest issue with budget chairs is that they don't adjust enough to fit different body types.
What should I do if I still have back pain after fixing my setup? Two weeks of consistent ergonomic setup usually shows improvement if the pain is posture-related. If it doesn't improve, or if you have sharp or radiating pain, see a physiotherapist before spending more money on equipment.
Equipment solves posture problems, not structural issues. Our guide to fixing back pain from sitting covers the additional steps for desk-related back pain specifically.
Do I need a standing desk mat? If you stand for more than 15-20 minutes at a time, yes. Anti-fatigue mats with foam or gel cores significantly reduce foot and leg fatigue compared to standing on a hard floor.
After 30 minutes on a hard surface, most people feel the difference clearly. See our anti-fatigue mat recommendations for options at different price points.
Bottom line: Ergonomic setup is not complicated, and most of it is free. Move your monitor up and pull your keyboard closer. Get your chair height right before adjusting anything else. These three changes fix the most common issues without spending anything.
The standing desk, the monitor arm, the anti-fatigue mat: they make the correct setup easier to maintain. But the correct positions themselves are what matter. Know the target, then choose the tools that help you hit it.
Essential Workstation Add-Ons Under $35
High-impact accessories verified by our research team to protect your cables and joints.
VIVO Under-Desk Cable Tray
Keeps power strips and heavy adapters off the floor so cables never yank when elevating.
ComfiLife Gel Anti-Fatigue Mat
High-density core reduces heel strike and lower back compression when standing 3+ hours.
VELCRO Brand ONE-WRAP (100pk)
Pre-cut reusable straps that easily unwrap for cord re-routing without scissors.
Soundance Ergonomic Laptop Stand
Elevates laptop screen 6 inches to eye level, preventing forward neck slouch.
Calculate Your Exact Desk & Chair Height
Slide to your height to see ANSI/BIFMA recommended standing and sitting presets.

Written by M. Haris
✓ BIFMA G1-2017 Certified EvaluatorFounder & Lead Workstation Ergonomics Researcher • 8+ Years Spec Testing
M. Haris leads ergonomic research at The Desk Riser, auditing manufacturer CAD schematics, motor cycle lifespan metrics, BIFMA weight load standards, and long-term user failure patterns across thousands of verified purchases. Every review is independent with 0% sponsored influence. Have questions or spot a warranty update? Email directly at support@thedeskriser.com, read the Author Dossier, or explore our Editorial Testing Methodology.
Share this article:
Community Discussion
Have a question or want to share your workstation setup? Join the discussion below.
Comments load automatically as you scroll down.
🔧 Free Workstation Tools
Related Articles
How Long Should You Stand at a Standing Desk? (2026 Research)
Health & ErgonomicsHow to Fix Back Pain from Sitting at a Desk (2026 Guide)
Health & ErgonomicsStanding Desk Benefits: What the Research Actually Shows in 2026
Health & ErgonomicsBest Under Desk Bikes & Pedals (2026 Knee Clearance)